You should move WordPress HTTP to HTTPS to create a secure environment for your site and improve data security. As a matter of fact, most users nowadays only visit a website after verifying that it is HTTPS encrypted.
To begin with, if you run an e-commerce store that processes credit card information or other sensitive data, switching to HTTPS (Hypertext Transfer Protocol Secure) is a must. Clients always want to put their trust in a secure website. And it’s entirely up to you to make that happen.
Hypertext Transfer Protocol Secure also contributes to your site SEO. Browsers even warn users when a website isn’t secure and this will greatly impact your traffic.
In this article, we’ll guide you through 4 steps to switch your WordPress site from HTTP to HTTPS.
How to Easily Move WordPress from HTTP to HTTPS:
Everything you need is an SSL certificate to make your WordPress site HTTPS. Many trustworthy site hosts provide free Let’s Encrypt SSL certificates that you can install immediately from your cPanel.
After putting the SSL certificate on your site, you’ll need to change the WordPress settings to use the HTTPS protocol.
Take one of the two ways below:
- Move WordPress HTTP to HTTPS Using a Plugin
- Move WordPress HTTP to HTTPS Manually
#1 Creating a Site Backup
It is highly recommended to save a backup of your WordPress site in a secure location before beginning this process. Make a thorough backup of your website’s files and database. In this manner, if any of the following steps fail, the website can be restored and save your time and money.
There are numerous backup plugin options for you to choose from. Check out our review on the 7 best WordPress backup plugins.
#2 Download a WordPress SSL Plugin
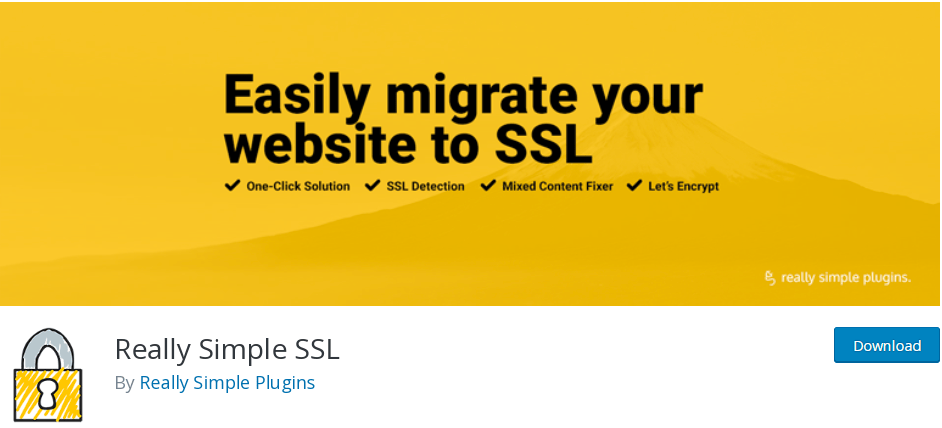
The Really Simple SSL Plugin is one of the most popular plugins to switch from HTTP to HTTPS. This plugin detects new website settings and automatically configures them to run over HTTPS. The plugin is available for download from the WordPress repository.

This plugin can also be installed directly from the WordPress admin panel. Simply go to ‘Plugins’ > ‘Add New’ to get started.
The ‘Really Simple SSL’ plugin attempts to resolve mixed content issues by utilizing an output buffering mechanism, which might degrade site performance by replacing material on the page as it loads. In most cases, this should only affect the first page load and can be reduced with the use of a robust caching plugin.
#3 Auto-Detect SSL with the Plugin
Your plugin should identify the SSL certificate and set WordPress to implement HTTPS with it automatically. To get started, go to Settings > SSL from your admin dashboard and open the plugin.
Your WordPress site should now be running on HTTPS after selecting the option “Go ahead, activate SSL!” This plugin will automatically detect your site’s SSL certificate and do the following tasks for you:
This plugin will automatically detect your site’s SSL certificate and do the following tasks for you:
- Verifies the validity of your SSL certificate.
- Sets up WordPress so that all site URLs begin with HTTPS (for example, https://mysite.com).
- This will set up all of your site’s redirects from HTTP to HTTPS.
- Identifies and attempts to repair URLs in your content that are still loading from HTTP sources (e.g. images and other media).
You should see a page with a green SSL button that says ‘100% progress.’ This indicates that the plugin has discovered and verified your SSL certificate, allowing you to use HTTPS.
You may need to log back into WordPress admin after clicking the ‘Go ahead, activate SSL’ button.
#4 Send HTTPS Site to Google Search Console
Search engines like Google consider HTTPS and HTTP as two separate websites. To avoid any SEO problems, you’ll need to inform Google that your website has been moved.
To do so, simply log into your Google Search Console account and select the ‘Add a Property’ option. This will allow you to enter your website’s new HTTPS address in a popup window.
Ready to Move WordPress HTTP to HTTPS?
You can either use a plugin to move your site from HTTP to HTTPS or do it manually, depending on your technical skills. We recommend making use of a plugin to simplify the process. All you have to do is download and install your desired plugin.
Configuring HTTPS manually is a little more complicated, as you will need to edit your WordPress theme files and add some code to them.
Do you have any questions about WordPress HTTP and HTTPS? Just drop a line in the comment to let us know.
