If you’ve just started a WordPress website and are wondering how the admin dashboard works, this is where you can find the answer.
The WordPress admin dashboard serves as the backbone of your entire website. Here you generate and manage content, diversify functionality by adding plugins, change styling by applying themes, and a lot more.
Simply put, it’s where you can do almost anything for your site.
In this WordPress admin tutorial, we’ll show you all the admin panel’s functions so that you can take full control of it.
Let’s get started!
- Access the WordPress Admin Dashboard
- #1 Dashboard
- #2 Posts
- #3 Media
- #4 Pages
- #5 Comments
- #6 Appearance
- #7 Plugins
- #8 Users
- #9 Tools
- #10 Settings
Access the WordPress Admin Dashboard
To access the WordPress admin dashboard, take the following steps:
- Add /wp-admin to your site’s URL: https://yourdomain.com/wp-admin
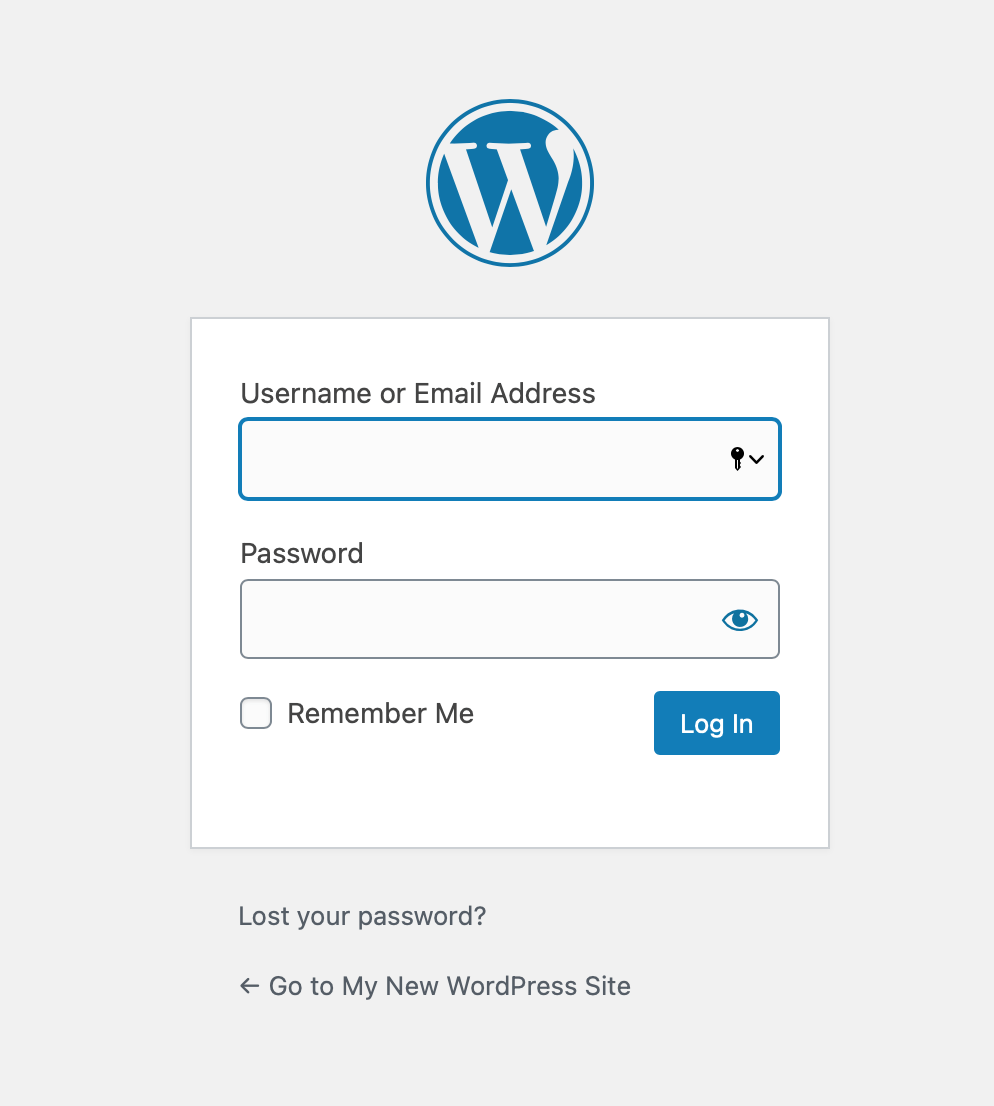
If you’re not already logged in, WordPress will automatically redirect you to the admin login page:
2. After successful login, you’ll see the WordPress admin dashboard:
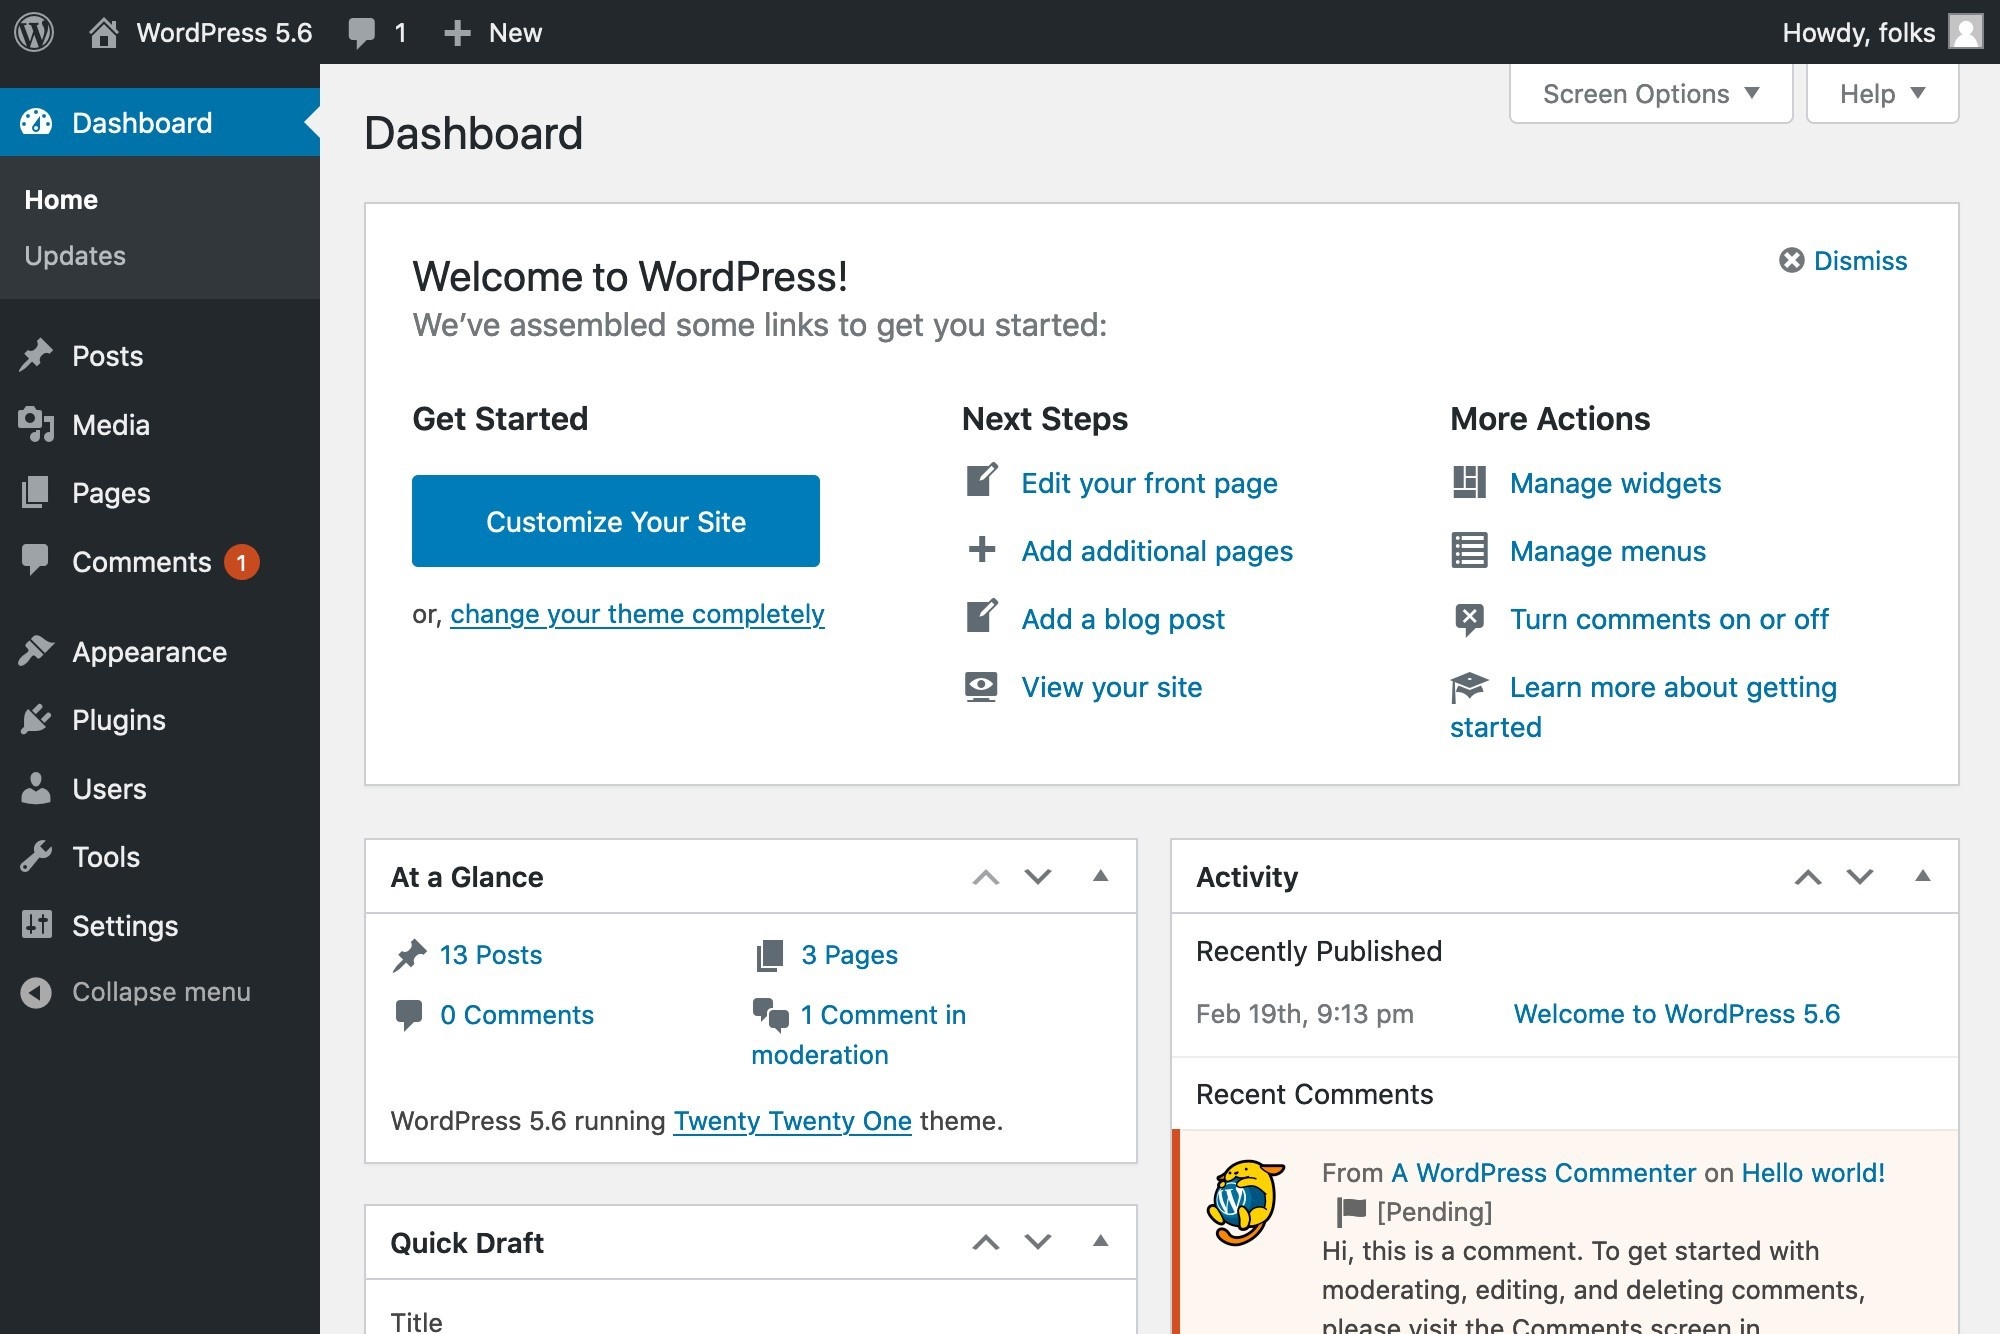
Now, we’ll explain its functions clearly one by one.
#1 Dashboard
Home
Once logged in, you will be automatically redirected to the Home section under the Dashboard dropdown menu.
On the Home screen, WordPress will tell you if there is any new version. Click Please update now to upgrade your site to the latest version of WordPress.

In case your version is the newest, this message is invisible.
By default, WordPress delivers 6 widgets on the Home page:
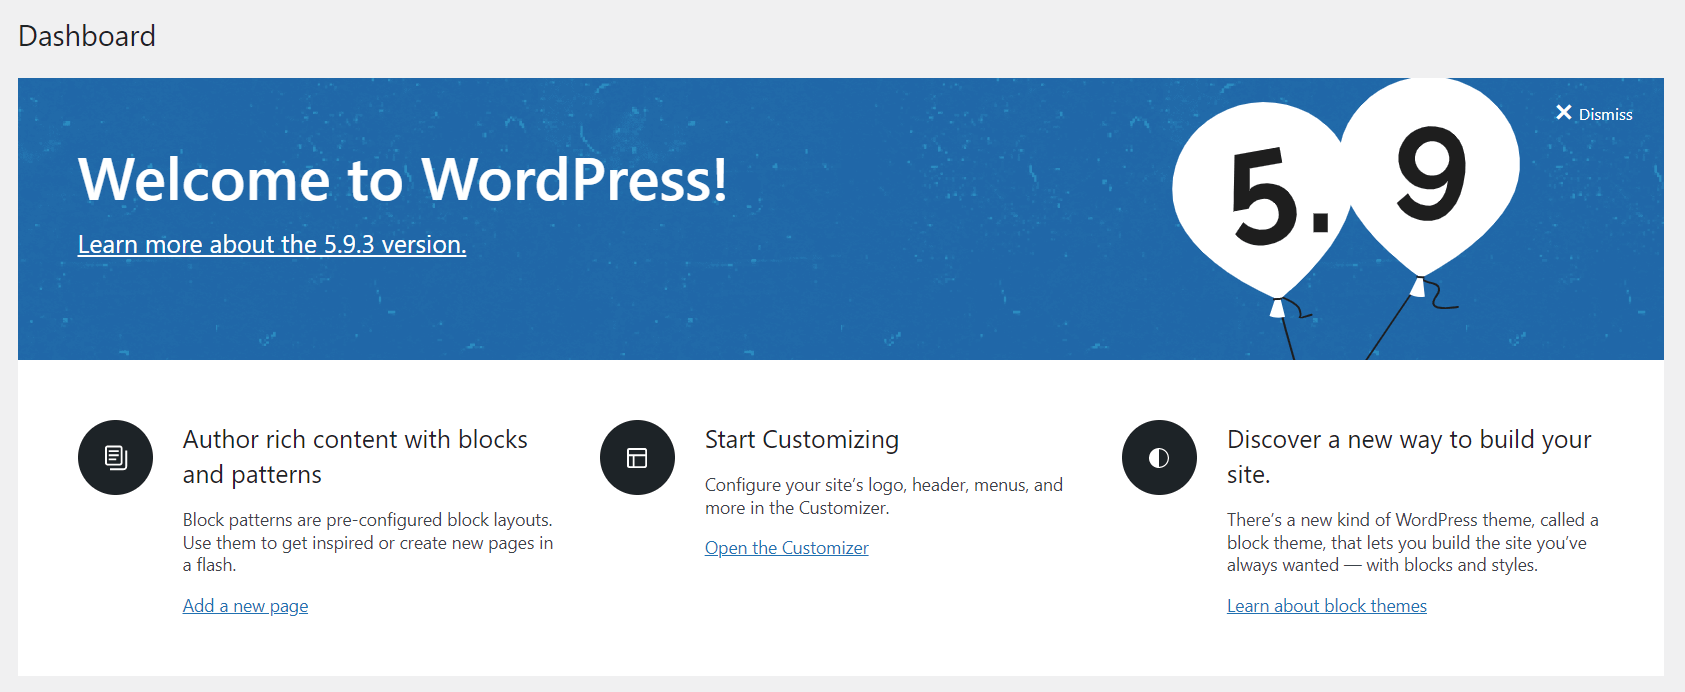
- Welcome to WordPress: WordPress provides quick links to some common tasks when setting up a new site in this gate. For example, customize your site, change the theme, configure widgets, manage menus, turn on/off comments, etc.
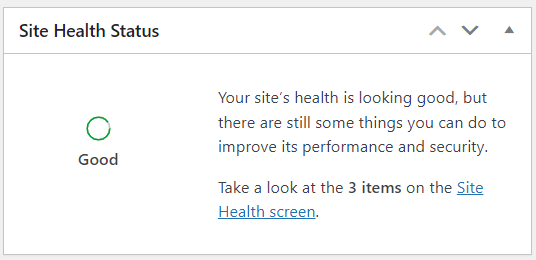
2. Site Health Status: This tab presents critical information about your site’s performance and security. WordPress will notify you of anything else that requires your attention.
3. At a Glance: This widget gives you statistics on the number of posts, pages, and comments on your site.
A statement at the bottom of this widget shows the WordPress version and theme version you’re running on. If there are any new versions, the Update button will appear. Simply click it to upgrade to the latest.

4. Activity: This tab illustrates the upcoming scheduled posts, recently published posts, and new comments on your posts. It also allows you to edit them.

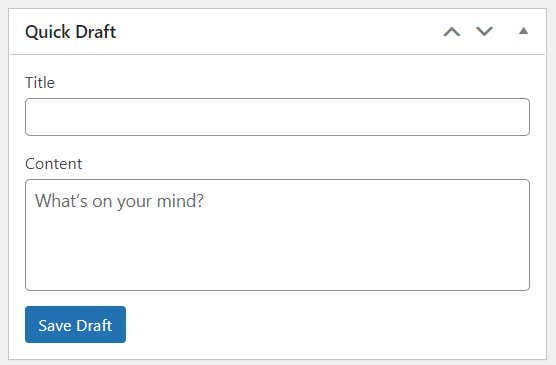
5. Quick Draft: This widget enables you to quickly draft a new post. Just enter the post title, upload media, enter the content, add tags, and press the Save Draft button.
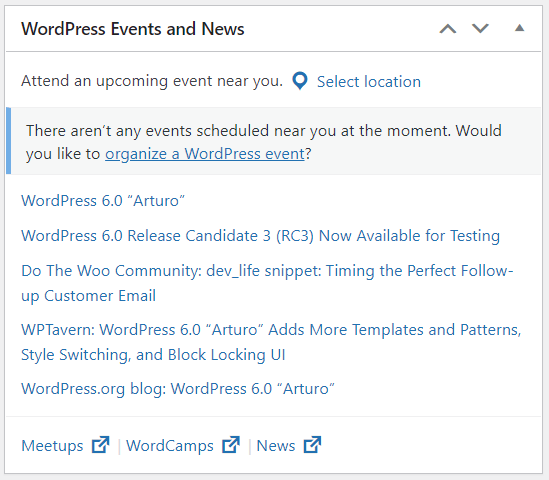
6. WordPress Events and News: In this tab, you can find a list of upcoming local events and the latest news from the official WordPress blog.
It’s possible to Drag & Drop the 6 boxes mentioned above to reorder them:
If there are some elements you no longer wish to use, WordPress lets you hide them to simplify your workflow. To do it:
- Click the Screen Options button in the top-right corner.
2. In the Screen Options dropdown menu, uncheck the redundant boxes.

3. Press the Screen Options again to close the panel.
Updates
The Updates screen provides the links to automatically install WordPress upgrades, or to download the file necessary to complete a manual upgrade.
In this section, you can find information about:
- Your current WordPress version, updates, and set auto-updates.
- Your plugins or themes that need updating.
Click the Update button to upgrade your WordPress site, plugins, and themes to the newest versions.
Please notice that it’s important to always keep your WordPress site up-to-date.
#2 Posts
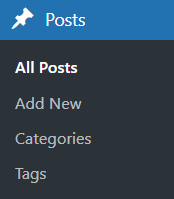
All Posts
You will see all your published, scheduled, and drafted posts here, and even removed ones. You can also make changes to those blogs right on this page, such as add new, edit, delete, preview, search for articles, etc.
Add New
Have any blog ideas spring to your mind? Navigate to this section to start a new post immediately.
Categories
Categories are normally used to group related posts, for instance, WordPress tips, WordPress plugins, etc.
That way, you can easily classify your posts and ensure better web navigation for your visitors. In other words, categories make it easier for either you or your readers to find target content.
In the Categories menu, you are able to add new categories, organize them hierarchically, and delete them.
Tags
Tags are similar to categories but narrower and not hierarchical. In simple terms, tags help sort posts into more specific topics than categories do.
Check out our article to differentiate categories and tags.
Take the same steps as Categories to add, edit, and delete Tags.
#3 Media
Library
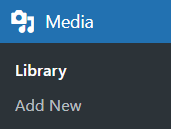
The Library consists of images, videos, audio, and documents that you upload directly to the repository, or insert when writing Posts and Pages. This is where you can add, modify, and manage your files all in one place.
It allows two types of views: a simple visual Grid View and a conventional List View. Switch between these views by clicking the icons in the left corner above the screen.

Add New
To add new media to your library, you can Drop & Drag files from your computer, or click Select Files and choose the files you want to upload.
#4 Pages
All Pages
In general, pages are similar to posts as they both have titles and content, but they aren’t exactly the same.
Posts appear in reverse chronological order on your blog’s home page, usually from the latest to the oldest. In contrast, pages are non-chronological. About and Contact pages would be typical examples.
To make it clear, refer to our blog on pages and posts.
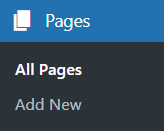
The All Pages section lets you see all published and drafted pages, and even ones you’ve previously moved to the trash. It also enables you to manage and make any improvements to your pages.
Add New
Creating a new page has never been so simple. With just one click on the Add New button, you can formulate pages and subpages for your WordPress site.
#5 Comments
When you accept comments on your Pages or Posts, WordPress will insert some text boxes underneath your content. Then your website visitors can submit their comments through these boxes.
The Comments dashboard gives you a view of all pending, approved, spam, and trash comments. Whenever you approve a comment, it will appear below the discussed content. WordPress also supports replying, editing, marking as spam, and auto-blocking comments.
#6 Appearance
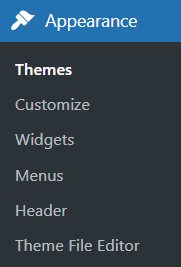
Themes
Wondering where to explore and activate your favorite themes? Here you are authorized to customize the current theme, delete, update, and preview themes before activating the most suitable one.
Customize
WordPress will navigate to the Theme Customizer when you select the Customize option. You’ll be able to edit some additional features of your currently installed theme. These features include site title, tagline, colors, header image, background image, navigation, widgets, static front page, etc.
The coolest thing is that you can preview your changes in real-time. But the Customizer will be different for each theme. It is only available if the active theme supports this.
Bear in mind that even the slightest customization can impact user experience. Make sure that you test your changes carefully before putting them into use.
Widgets
A theme typically has at least 1 or 2 sidebars. Each section in the sidebar is known as a widget that you can add, remove, and rearrange.
WordPress accepts configuring widgets in your sidebar via the Widgets screen. Some themes even provide the options to customize widgets in the header and footer.
Menus
The Menus panel lends you a hand to create a custom menu that assists visitors to navigate your site. It’s necessary to have a simplified navigation menu to avoid confusing your visitors and slow loading.
In Menus, you can add different items namely posts, categories, or custom links to the URL of your choice. Then choose the order of the menu items and their hierarchy.
You may be interested in our guide on how to show different menus when logged in to WordPress.
Header
In the Header screen, if supported by your current theme, you can customize your theme’s header by uploading and configuring an image.
Theme File Editor
This tool enables you to see and edit your code kept in a Theme Template and Stylesheet files:
- In the WordPress admin dashboard, navigate to Appearance.
- Select Theme File Editor.
- Choose a theme to edit in the drop-down menu in the right-hand corner.
- Click Select.
- Pick the specific theme file you intend to edit.
- Make changes to HTML.
- Press Update File.
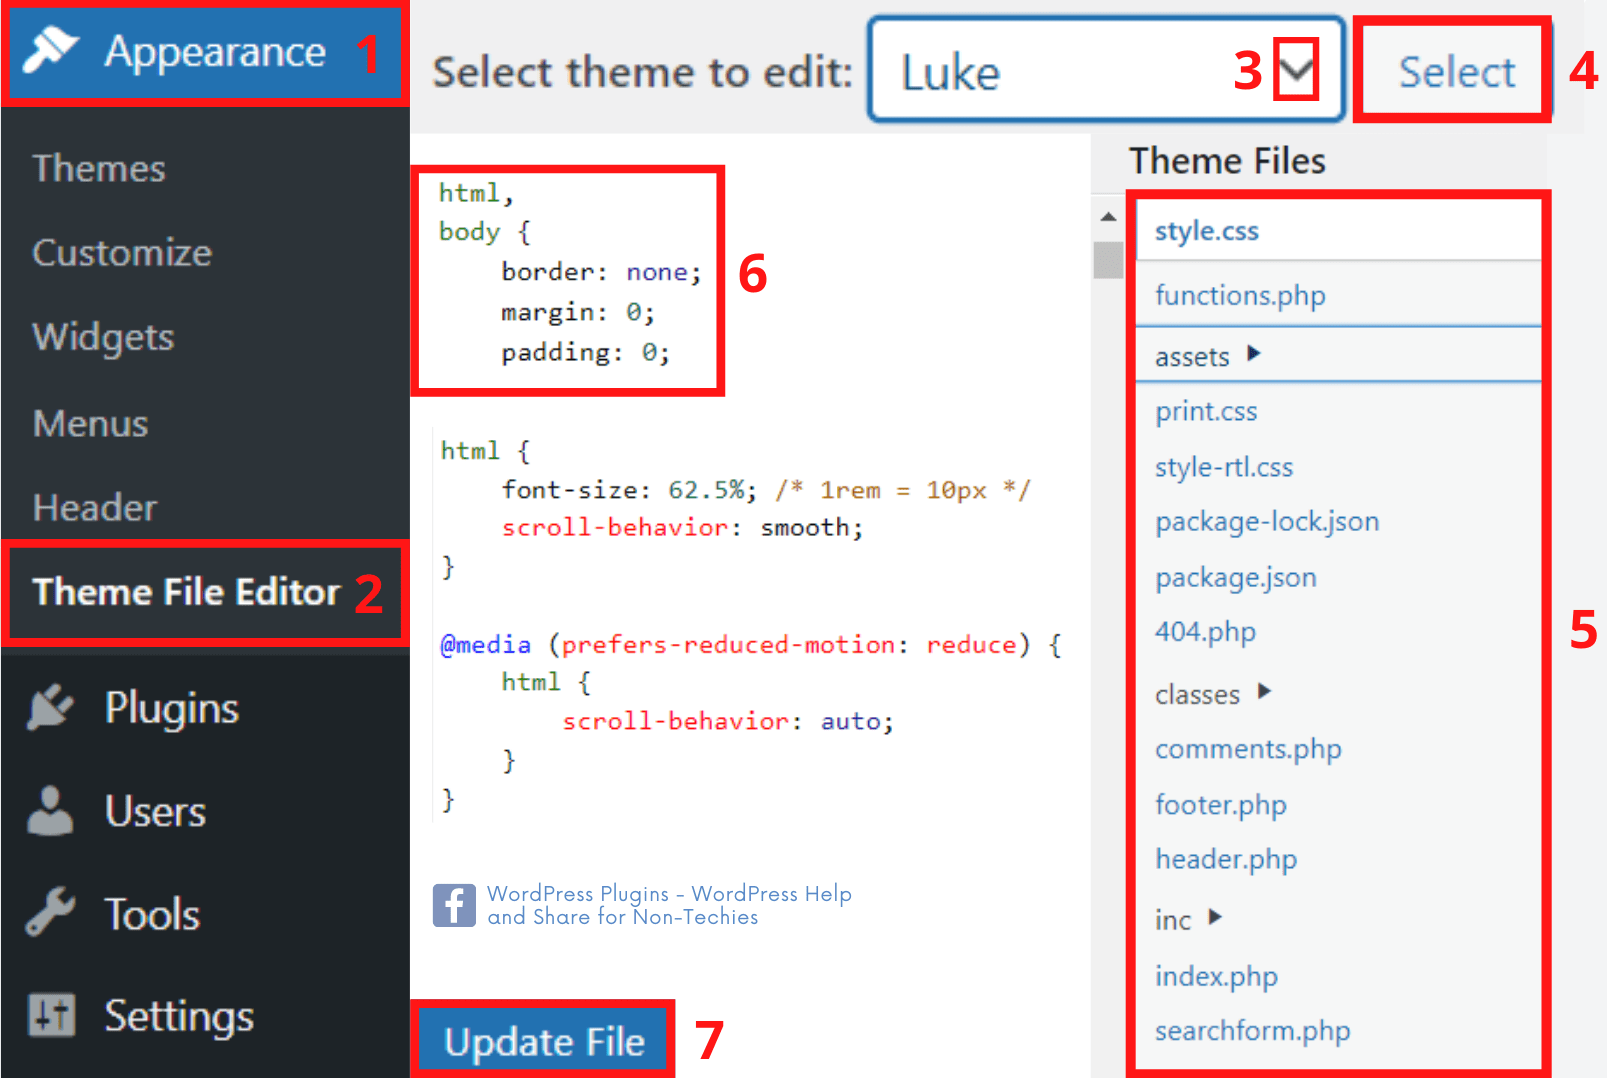
However, interfering with the source code might put your site at risk. So only edit the Theme Files if you’re confident in your code knowledge.
#7 Plugins
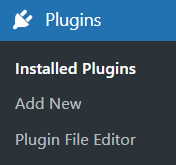
Installed Plugins
Sometimes the built-in functions of WordPress are not enough. You should innovate your website with more advanced features. That’s when plugins come as a perfect solution as they equip your site with extra functionalities.
In the Installed Plugins screen, a table lists all of your plugins by row, in alphabetical order. You can directly activate, deactivate, update, edit, and delete plugins that are already installed.
Add New
Discover, install, and activate your favorite plugins here with just a few steps. You can browse the WordPress plugin repository and search by keyword for the plugins you’re seeking. It also permits uploading plugins via .zip files you’ve already downloaded from the plugin developers.
Bonus Tips: If you desire to prevent unauthorized access to your uploaded files, the PDA plugin would be an indispensable assistant. In case you wish to password protect your content, we highly recommend the PPWP plugin.
Plugin File Editor
Similar to the Theme File Editor, the Plugin File Editor authorizes you to adjust your plugins’ PHP code.
Be careful that you’ll be making modifications to raw code. It may cause your plugins or even your entire site to crash if not done properly. Get in touch with the plugin development team to help you out.
#8 Users
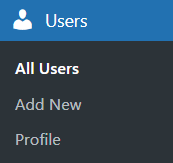
All Users
This panel displays a table of all the users listed by the username order. It gives you an overview of their usernames, emails, roles, and past activities.
Plus, it assists in adding, changing, and deleting your site’s users. You can search for users and make bulk changes to a selected group of users.
Add New
In this panel, you can add new users along with their roles to your site. WordPress now has 6 predefined roles: Super Admin, Administrator, Editor, Author, Contributor, and Subscriber. Each role is granted permission to perform a set of specific tasks. So make sure you assign the appropriate roles for your users.
Profile
This is where you can manage and make changes to your personal information. It also encourages you to personalize the look and feel to your liking.
#9 Tools
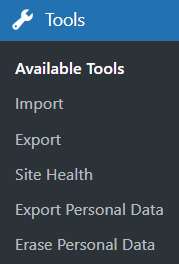
The Tools components are in charge of:
- Converting categories to tags and vice versa.
- Importing data from other sites or hosts to your site, including content, comments, users, etc.
- Exporting data from your site to your computer.
- Checking your site’s issues in detail so as to make improvements.
- Exporting users’ personal data as a .zip file. Once you enter a username or email address, an email will be sent to that user to confirm the request.
- Removing users’ personal data.
#10 Settings
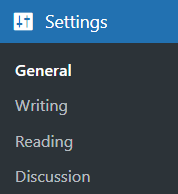
General
The General panel controls some of the most basic configuration settings for your site: title, tagline, URL address, email address, membership, language, time zone, etc. Whenever you make changes to these settings, remember to select the Save Changes button to save them in the database.
Writing
It’s necessary to utilize the Writing tab to manage the interface you use when writing new posts. These settings control WordPress’s features in adding and editing Posts, Pages, and Custom Post Types. There are several optional functions such as Remote Publishing, Post via Email, and Update Services.
Reading
The Reading section contains few options, but still plays an important role. You can set posts or pages as your blog’s front page, and determine how many of them are shown. Additionally, you can adjust syndication feed features to decide the way the information from your site is sent to a reader’s web browser or other applications.
Discussion
With the Discussion settings, you’ll be able to allow comments, accept pingbacks and trackbacks, and block spams. On this screen, you control the circumstances under which your blog alerts you to any certain events at your site via email notifications.
Get Started with Our WordPress Admin Tutorial!
We understand that it’s tough when you are just starting out with WordPress. There are tons of new concepts to learn, especially if you are not tech-savvy.
The road that lies ahead won’t be easy. We hope that our WordPress admin tutorial helps you solve some of the initial difficulties. Once you are familiar with the basic WordPress terms, the next stages will become smoother.
It’s time to practice this WordPress admin tutorial, and get this show on the road now!
